VPN Access in macOS

All devices connecting to the Physics network this way MUST be running a supported version of macOS and have all application and operating system updates applied, running a Firewall, running Antivirus Software - with up to date virus definitions and running Spyware detection.
The terms and conditions specified in the Department of Physics Rules for Computer Use apply.

Instructions for setting up Fortigate VPN for Mac systems

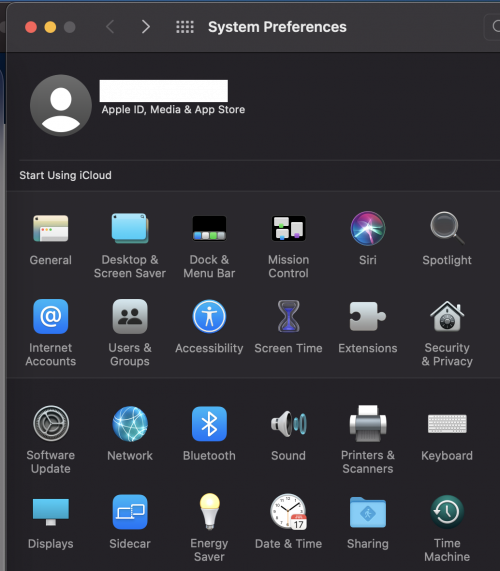
Open System Preferences from the apple menu, for macOS Ventura open System Settings.
vpn1.png

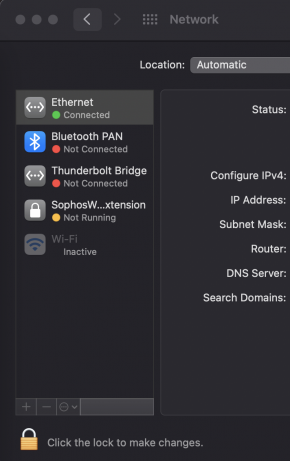
Then click on Network.
system preferences_0.png
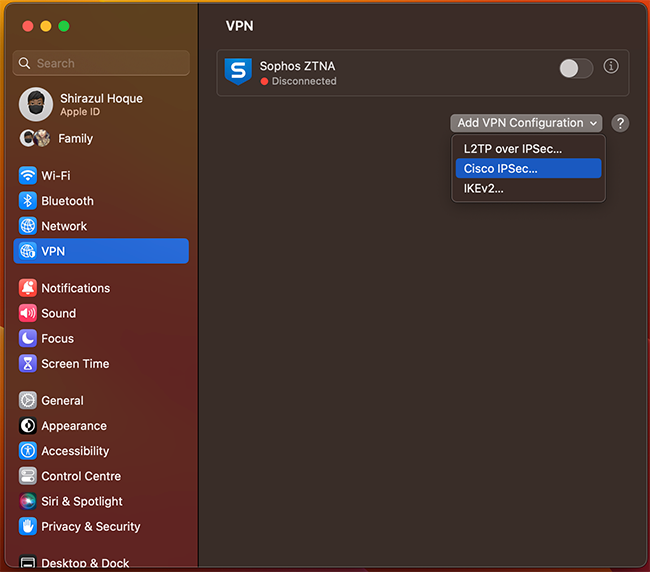
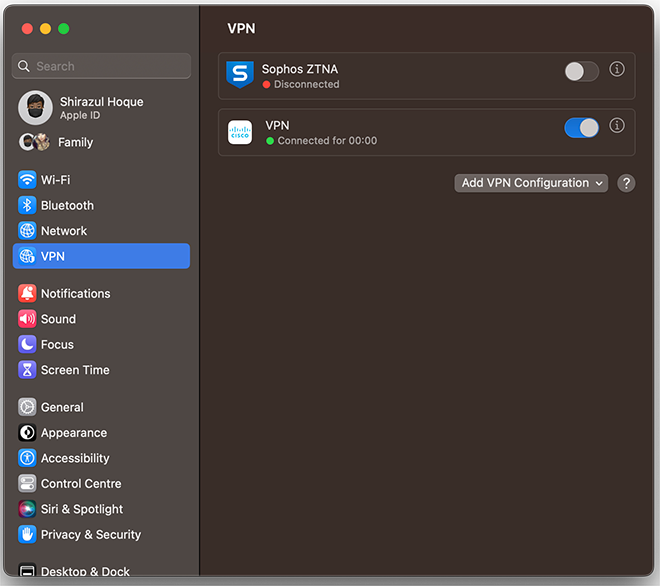
For macOS Ventura click on VPN.
vpn2.png

For macOS Monterey there is a plus (+) button, click on this button
network_1.png

Drop down box will be prompted, drop down and click on VPN.
addciscoipsecvpn_1.png

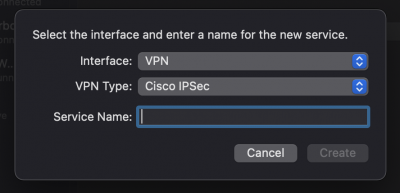
Set VPN Type to 'Cisco IPSec' and name your service name to: Physics Fortigate VPN. Once done click on the Create button.
enterdetails_0.png

For macOS Ventura a cisco IPSec window will appear
vpn3.png

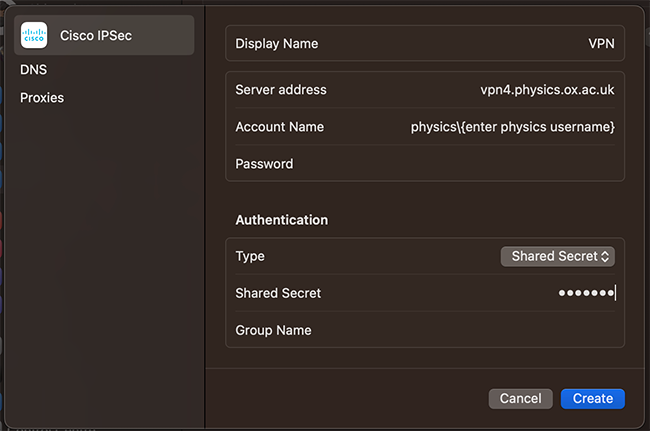
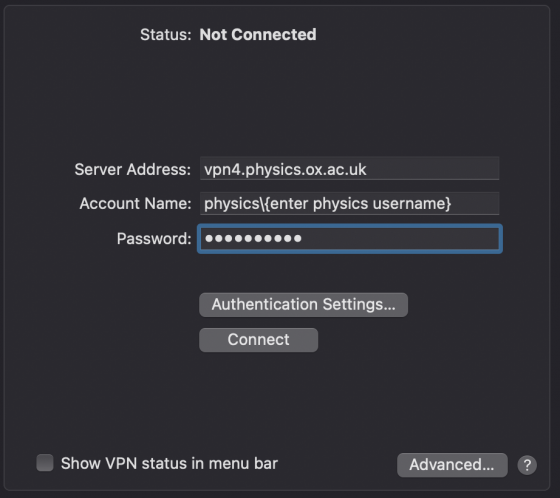
Enter the Server Address: vpn4.physics.ox.ac.uk

Enter the Account Name: physics\

Followed by your Physics Password.

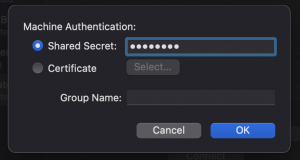
For macOS Monterey click on the 'Authentication Settings...' button and the Shared Secret is 'neutrino' .
For macOS Ventura in the Authentication section the 'Shared Secret" is also 'neutrino' .
Click OK.
sharedsecret_1.png

Finally click on Connect and then Apply. You may also click on the (Show VPN status in the menu bar) to check your VPN connect. The Status of your VPN now should be connected.

fin_0.png

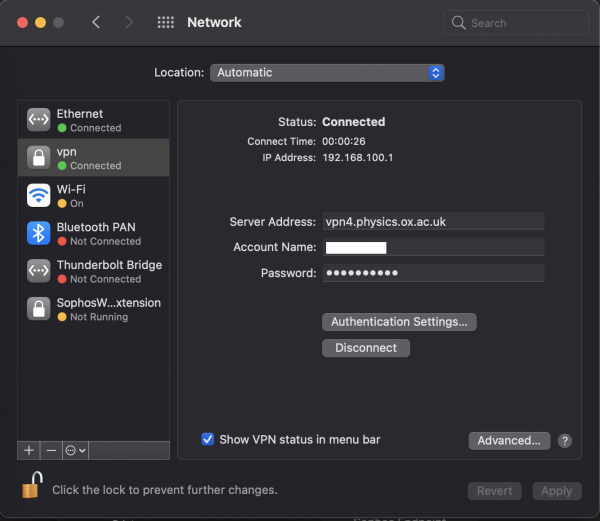
For macOS Ventura toggle the slider on the vpn and this will connect you to the VPN.
vpn5.png

This section is now obsolete - Instructions for setting up a L2TP over IPSec VPN connection to the Physics network using macOS

  1. Open Terminal from Applications > Utilities and with the sudo command create a directory called /etc/ppp (e.g. sudo mkdir /etc/ppp) and with a text editor create a file called /etc/ppp/options (e.g. sudo nano /etc/ppp/options) and edit the file so it contains the following text:
    refuse-eap
    usepeerdns
    defaultroute
    require-mschap-v2
    noauth
    idle 5000
  2. You will now need the Oxford University shared secret password, to do this you need to go to the Software Registration and Downloads web page and login with your SSO account. Once on this page select VPN client from the list. On the next page that appears select VPN shared credentials. A window containing the information should now pop up on your desktop. Make a note of the IPSec secret as you will need this information later on (it will be referred to as the shared secret) and then close the window using the close window link.
  3. Now open Systems Preferences > Network
  4. Click on the + sign near the bottom left corner of the window you've just clicked on
  5. Click on the up/down arrow on the right of the "Interfaces" menu item and click on "VPN" (in lower half of options)
  6. A menu item called "VPN Type" will appear - set this to "L2TP over IPSec"
  7. Give it an appropriate name you'd like to use e.g. "Oxford Physics VPN"
  8. Click "Create" and now enter the following settings:
    Server Address: vpn.physics.ox.ac.uk
    Account Name: your physics account username
  9. Now click on Authentication Settings and set the User Authentication to password and enter your physics account password and in the Machine Authentication enter the shared secret that you obtained earlier and click OK.
  10. Click "Advanced"
  11. Ensure that under "Session Options" that you have selected "Send all traffic over VPN connection" and click OK
  12. You may also wish to select the "Show VPN status in menu bar" option.
  13. To test connect your system outside the physics network either via the eduroam network or from home and click Connect

Categories: Apple | Astrophysics | Mac | Remote Access | Theory | VPN